- < Experiment 15
-
Experiment 16 v4
- Experiment 17 >
Building and sailing rafts

Can you create a sailing raft that can carry a 100-gram load?
Purpose
This experiment gives children an opportunity to practise using the weighing scale to determine mass of small objects.
The child will learn how to build a raft and to measure the load it can carry.
You need to know
- how to use a weighing scale
You will need


Steps
- Using your weighing scale, find small objects in your house that weigh a total of 100 grams.
- Look for materials that can be used to create your sailing raft. Make sure to include materials that float on water.
-
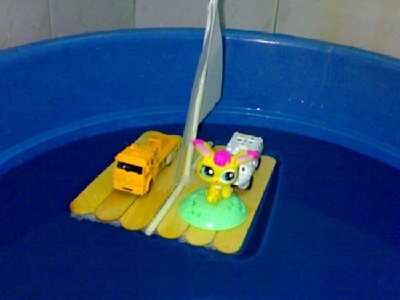
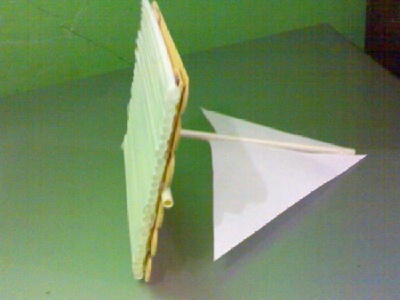
Using the materials gathered, design and create your sailing raft.
You don't need to use the design found here. What's important is that your sailing raft can carry the 100-gram load that you prepared without capsizing or sinking in water.
- Test your sailing raft. If it could not carry the 100-gram load, make the necessary adjustments.
Hint
A hot glue gun is ideal, but if you don't have one then you can try using string, sticky tape or other types of glue instead.
Keep safe!
If you are using glue or scissors, ask an adult to help you.
Hint
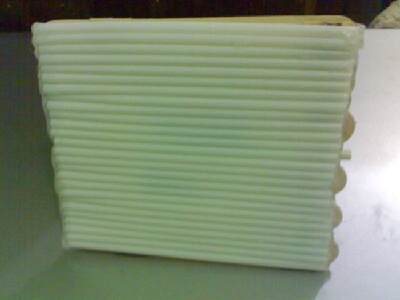
In this exercise, we sealed off the two ends of the drinking straws using hot glue to make them float.
Questions
- How much mass can your sailing raft carry?
- How did you make sure that your raft can carry 100 grams?
Expected answers
-
There are no exact answers here. What's necessary is that the child made correct readings to determine the mass of different objects.
-
The most acceptable answer here would be by using more materials that float on water like drinking straws, Styrofoam boards, or wine corks.
More photos:
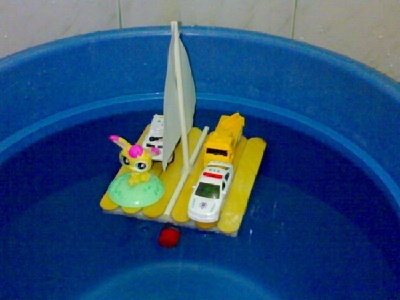
The bottom view of the raft. The ends of the drinking straws were sealed off using hot glue gun.
View showing the sail and the bottom.
To make the raft carry an additional toy car, we added an empty plastic bottle as indicated by the red cap below the raft.
Explore further (optional)
If you are near a pond, lake or river, why not create a raft that would support your own weight?
Keep safe!
You must ask an adult to help you.
Tips for further exploration
This is simply a case of scaling up the materials.
You will need to help the child with any tools they need to use, and supervise them if they try the raft on the water.


