- < Experiment 7
-
Experiment 8 v4
- Experiment 9 >
Measuring the capacity of origami boats

What is the volume of an origami boat?
Purpose
This experiment gives children an opportunity to follow step-by-step instructions.
The child will learn how to make origami boats and how to calculate their volume.
You need to know
- how to measure the volume of a liquid
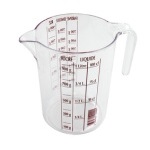
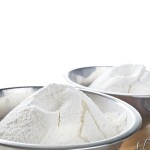
You will need


Steps
-
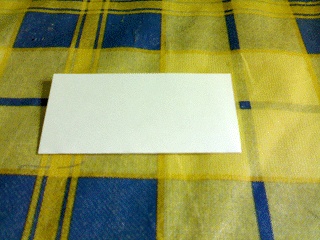
Cut aluminium foil or paper to the following sizes:
Boat number Dimensions 1 12 cm x 12 cm 2 12 cm x 16 cm 3 15 cm x 15 cm 4 15 cm x 20 cm 5 18 cm x 18 cm 6 18 cm x 24 cm 7 21 cm x 21 cm 8 21 cm x 28 cm -
Straighten the edges of the main material over a flat surface.

-
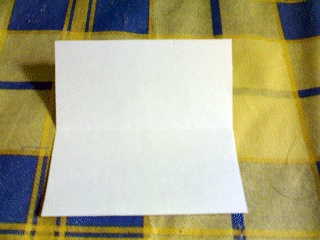
Fold it in half (lengthwise, if applicable).
-
Open it up to find a crease in the middle of the paper.
-
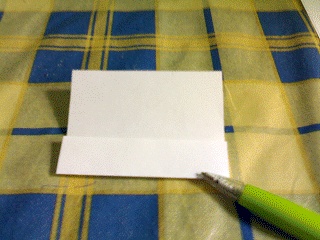
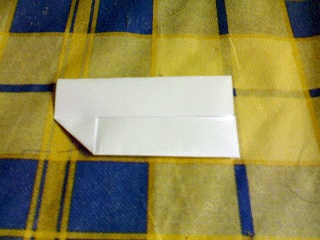
Fold both sides of the crease so that both upper and lower ends of the paper meet right in the middle.
-
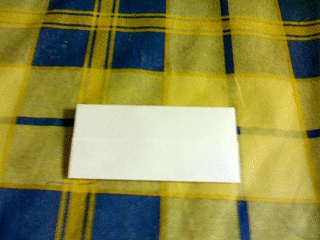
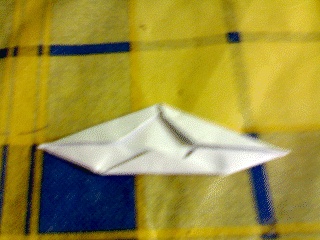
Now, fold all the corners as shown below in which the upper and lower corners meet exactly in the middle. Crease the folds well.
-
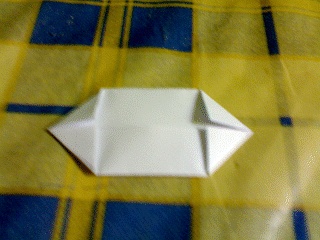
Do the previous step again as shown below using the middle crease as guide.
-
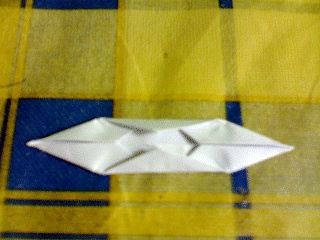
Fold the top and bottom tips so that they meet right in the centre.
-
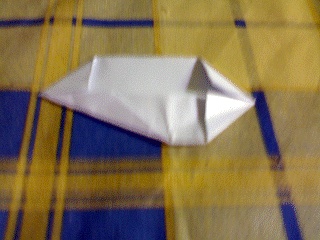
Slightly open the material up in the middle as shown below.
-
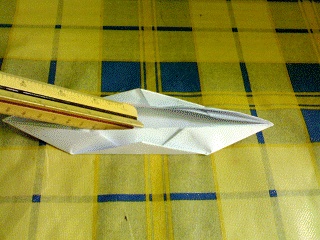
Flip the whole thing upside down.
-
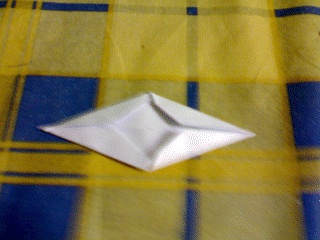
Slightly press the middle crease down, while turning the upper part inside out. This is the tricky part, but you'll find it easy to repeat once done the first time.
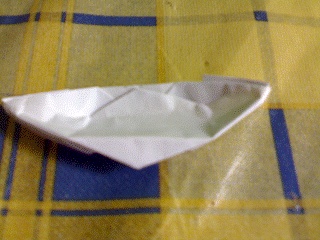
-
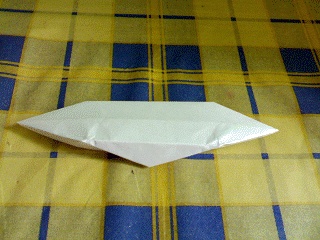
Do the same to the lower half. Fix and straighten the edges and the sides.
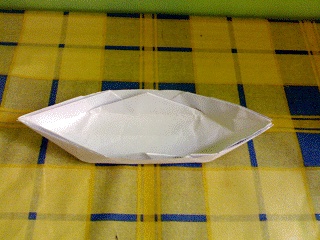
-
Repeat these steps to create the remaining origami boats.
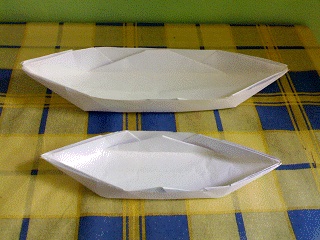
- Measure the capacity of each boat.
-
Use the table below to record the measurements.
Number Dimensions Capacity (ounces) Capacity (millilitres) 1 12 cm x 12 cm 2 12 cm x 16 cm 3 15 cm x 15 cm 4 15 cm x 20 cm 5 18 cm x 18 cm 6 18 cm x 24 cm 7 21 cm x 21 cm 8 21 cm x 28 cm
Hint
Use measuring cups and water for aluminium boats or measuring cups and flour for paper boats. Make sure to scoop and level out excess flour before transferring content to measuring cup.
Questions
- What is the capacity of each origami boat?
Expected answers
-
The answers depend on a number of factors including materials used, craftsmanship when creating the boats, and accuracy of measuring cups. What's necessary is that the child has measured carefully to arrive in an acceptable calculation.
Explore further (optional)
- You could build different boat sizes or use other materials available to you.
- You could verify your measurements by using small counters of known mass (weight) such as pennies.
Tips for further exploration
- Building different boats is an opportunity to practise these skills some more.
- Boat capacity is approximately equal to its water displacement value. By converting boat capacity to the weight of water displaced, you will have an idea how many counters it will take before the boat sinks.


